Wet-on-wet technique
- All icings both for base color as well as for the accent colors (petals, centers and leaves, as is the case here) should have the same flooding consistency. If you use different consistencies, your layers won't settle into each other smoothly or your pattern will be "ragged".
- Work quickly to get smooth effects, without stopping between steps.
- If you work too slowly, the icing can crust, and, when you drag your scribe tool through it to create marbled effects, you can leave behind "tracks" or cracks.
- Keep a damp paper towel nearby to keep the scribe tool clean between passes through the icing.

|
1. Outline and flood your cookie as described in a Flooding section. Immediately move into the next step; don't allow the pink base icing to dry or crust |
|
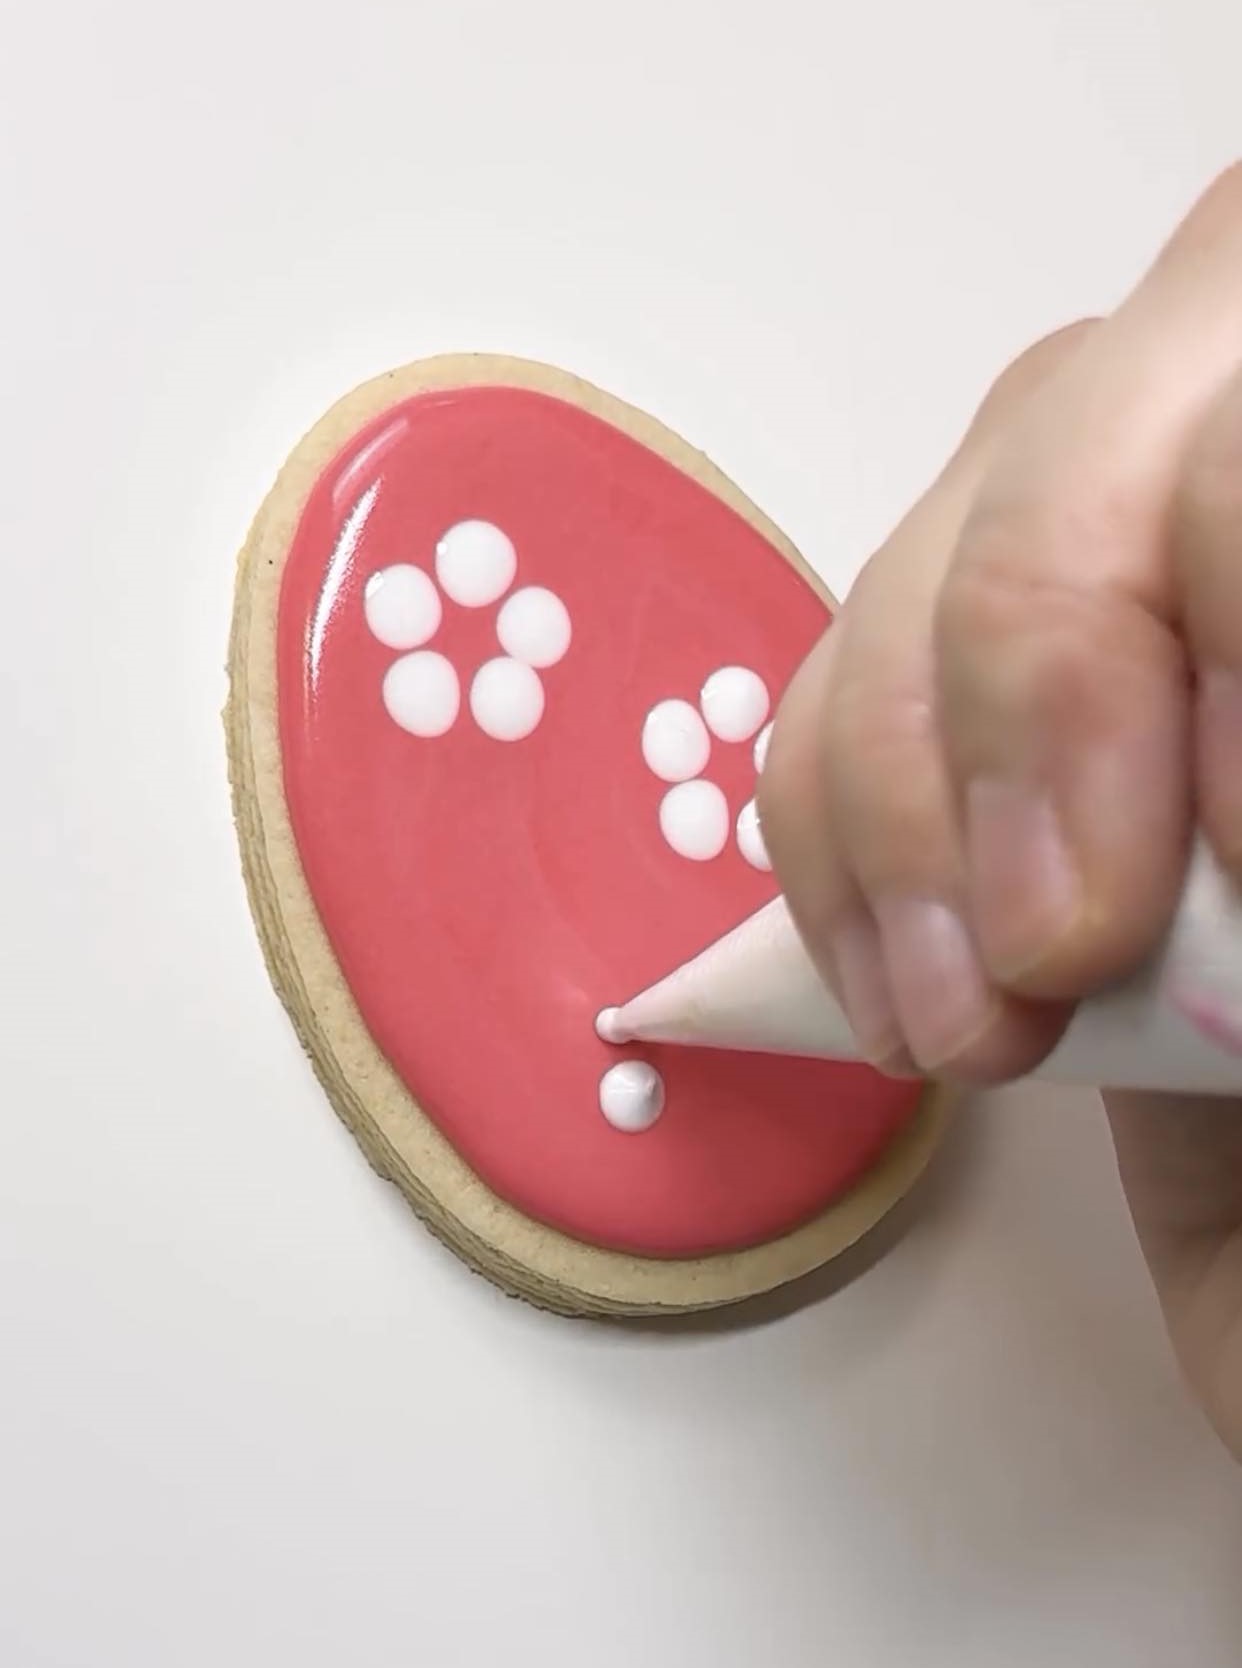
2. Pipe the petals using the same, flooding consistency. Work as fast as possible. |
|
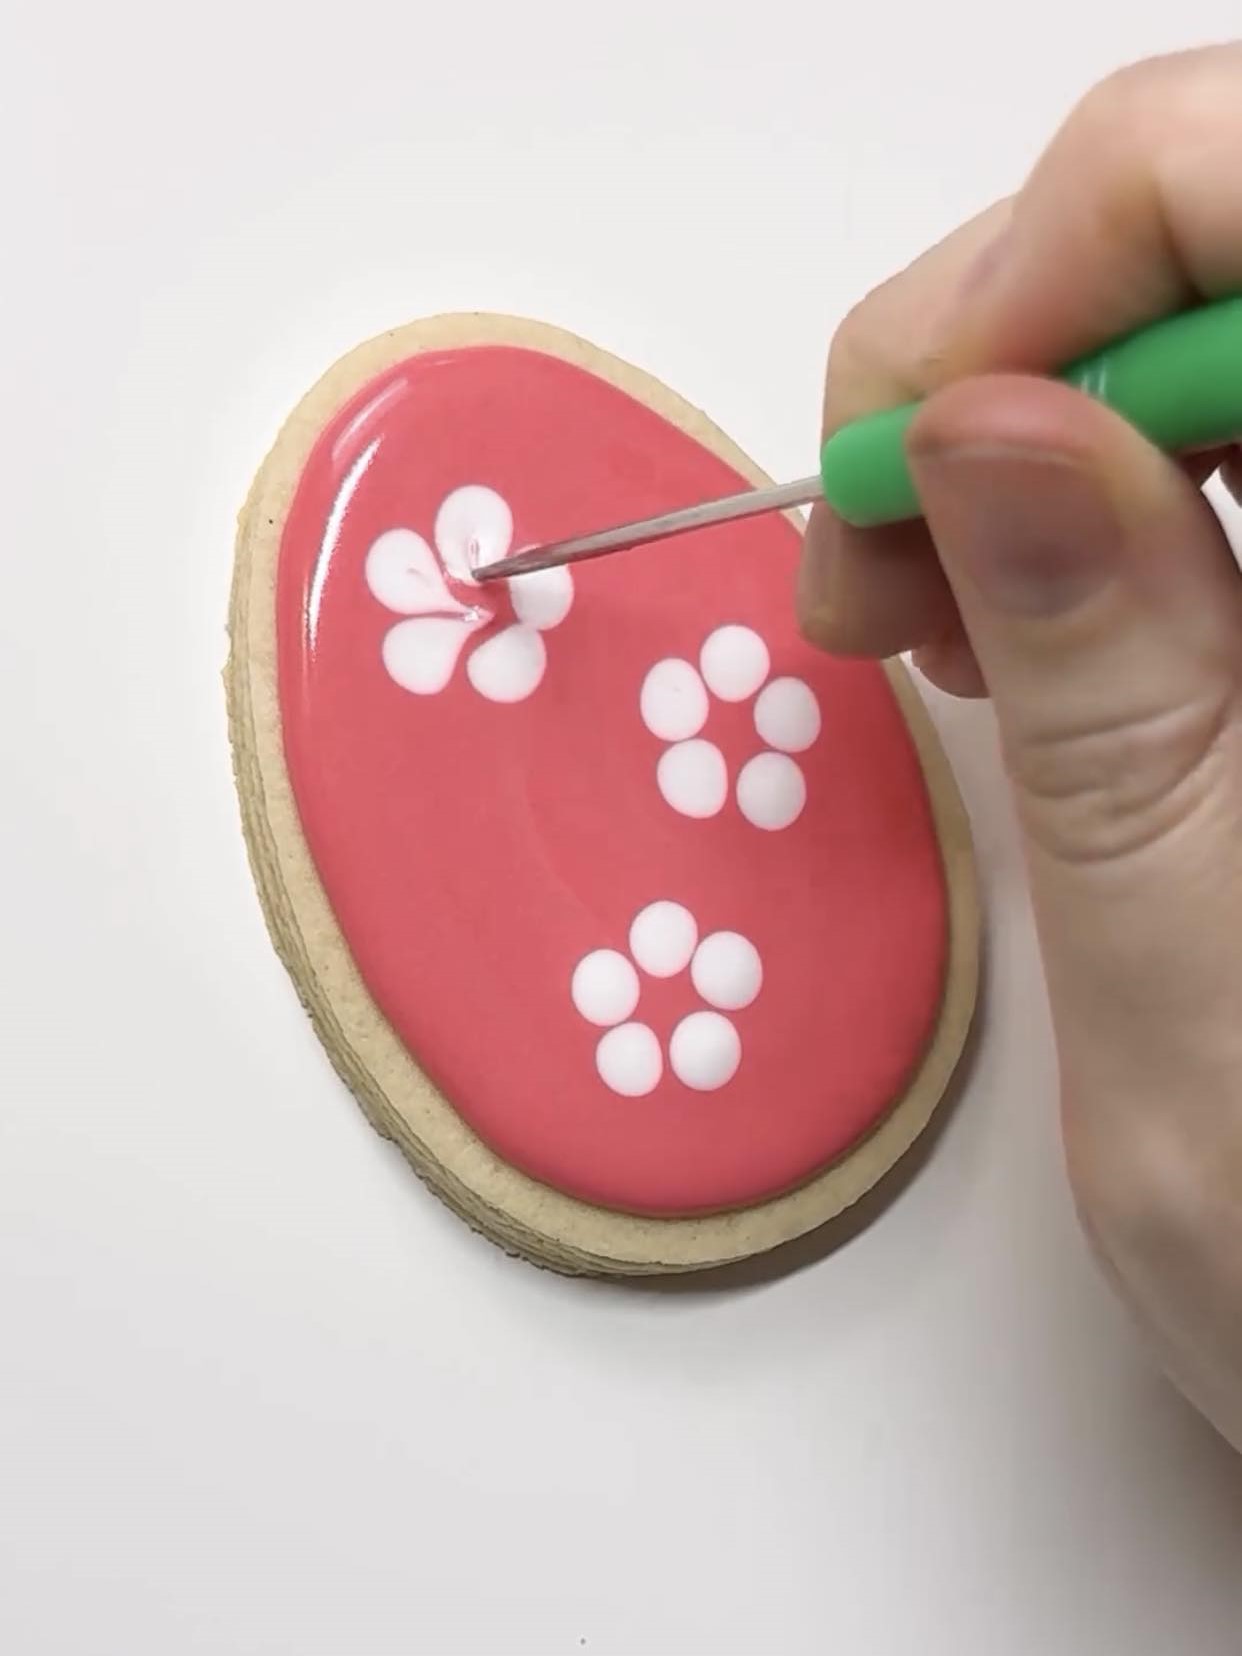
3. Pull the scribe through each petal towards inside (into the middle of the flower). Wipe your scribe using a paper towel. |
|
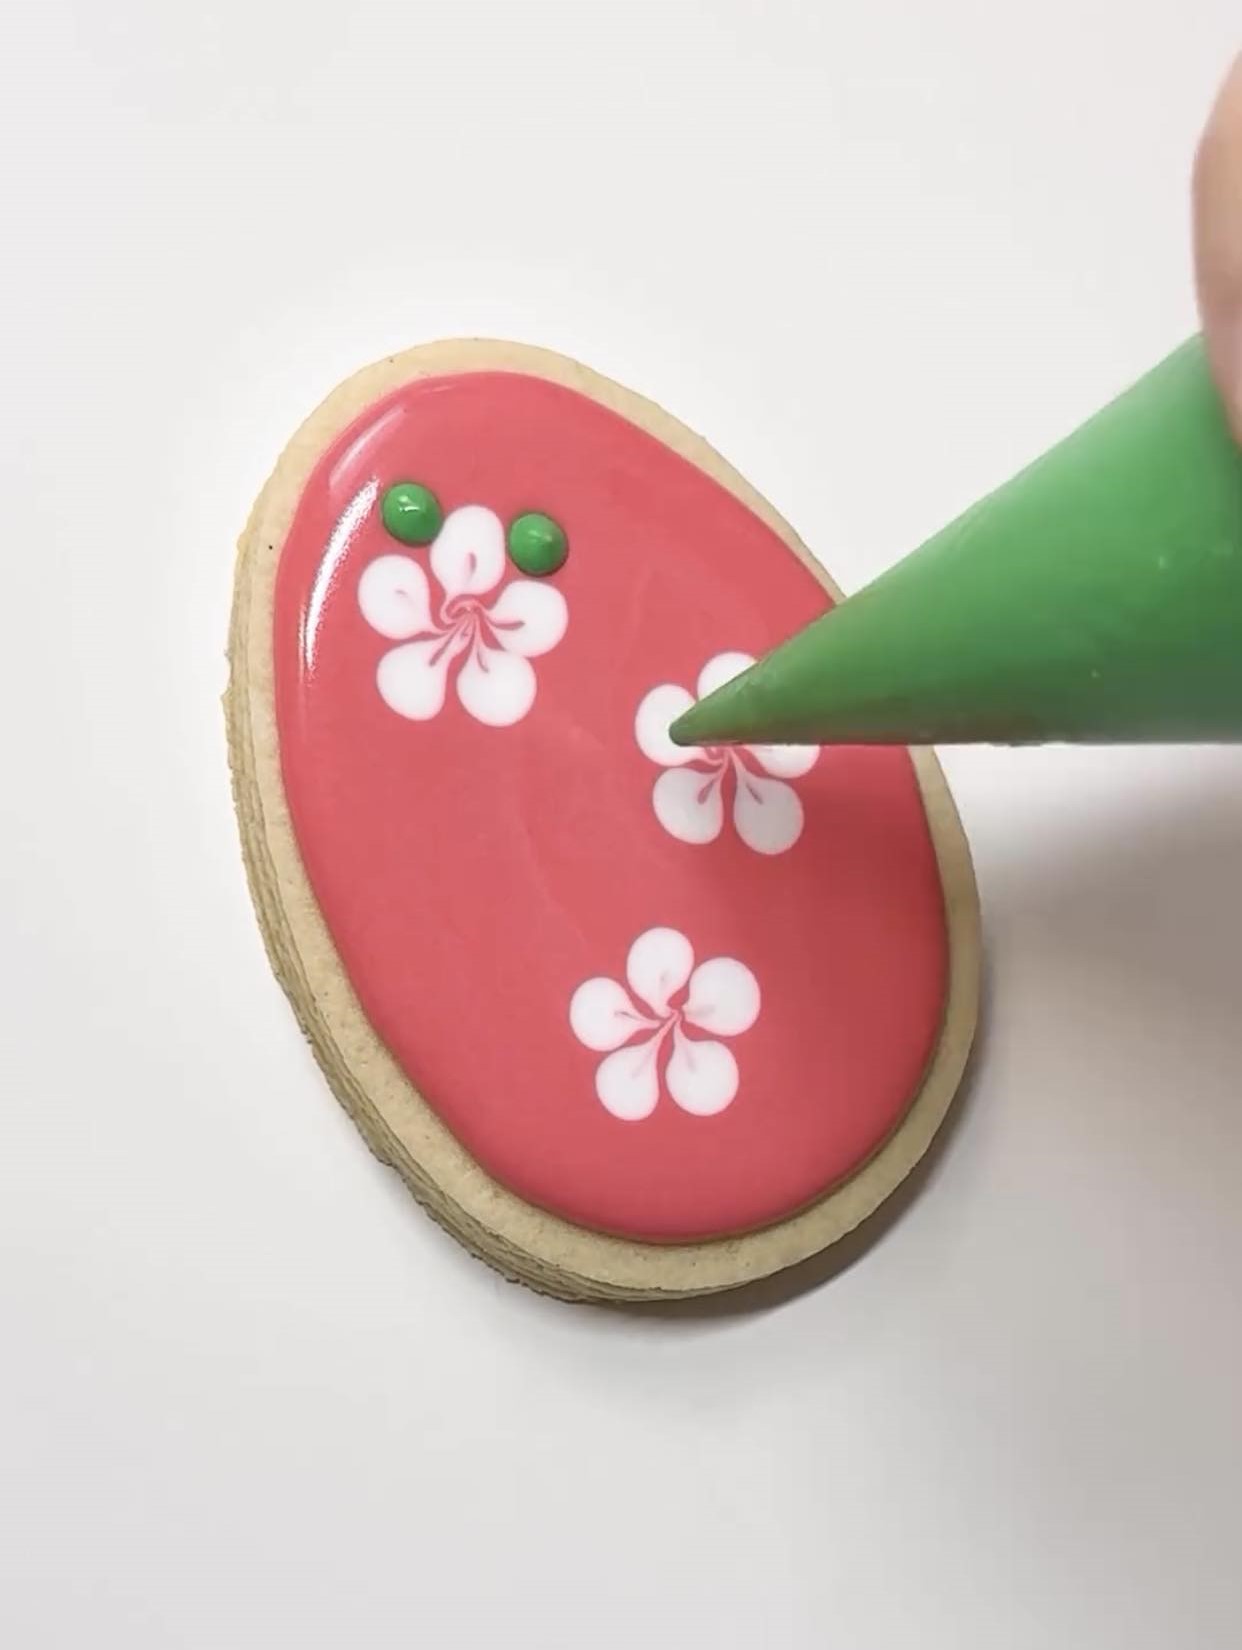
4. Add dots (leaves) using the same, flooding consistency. |
|
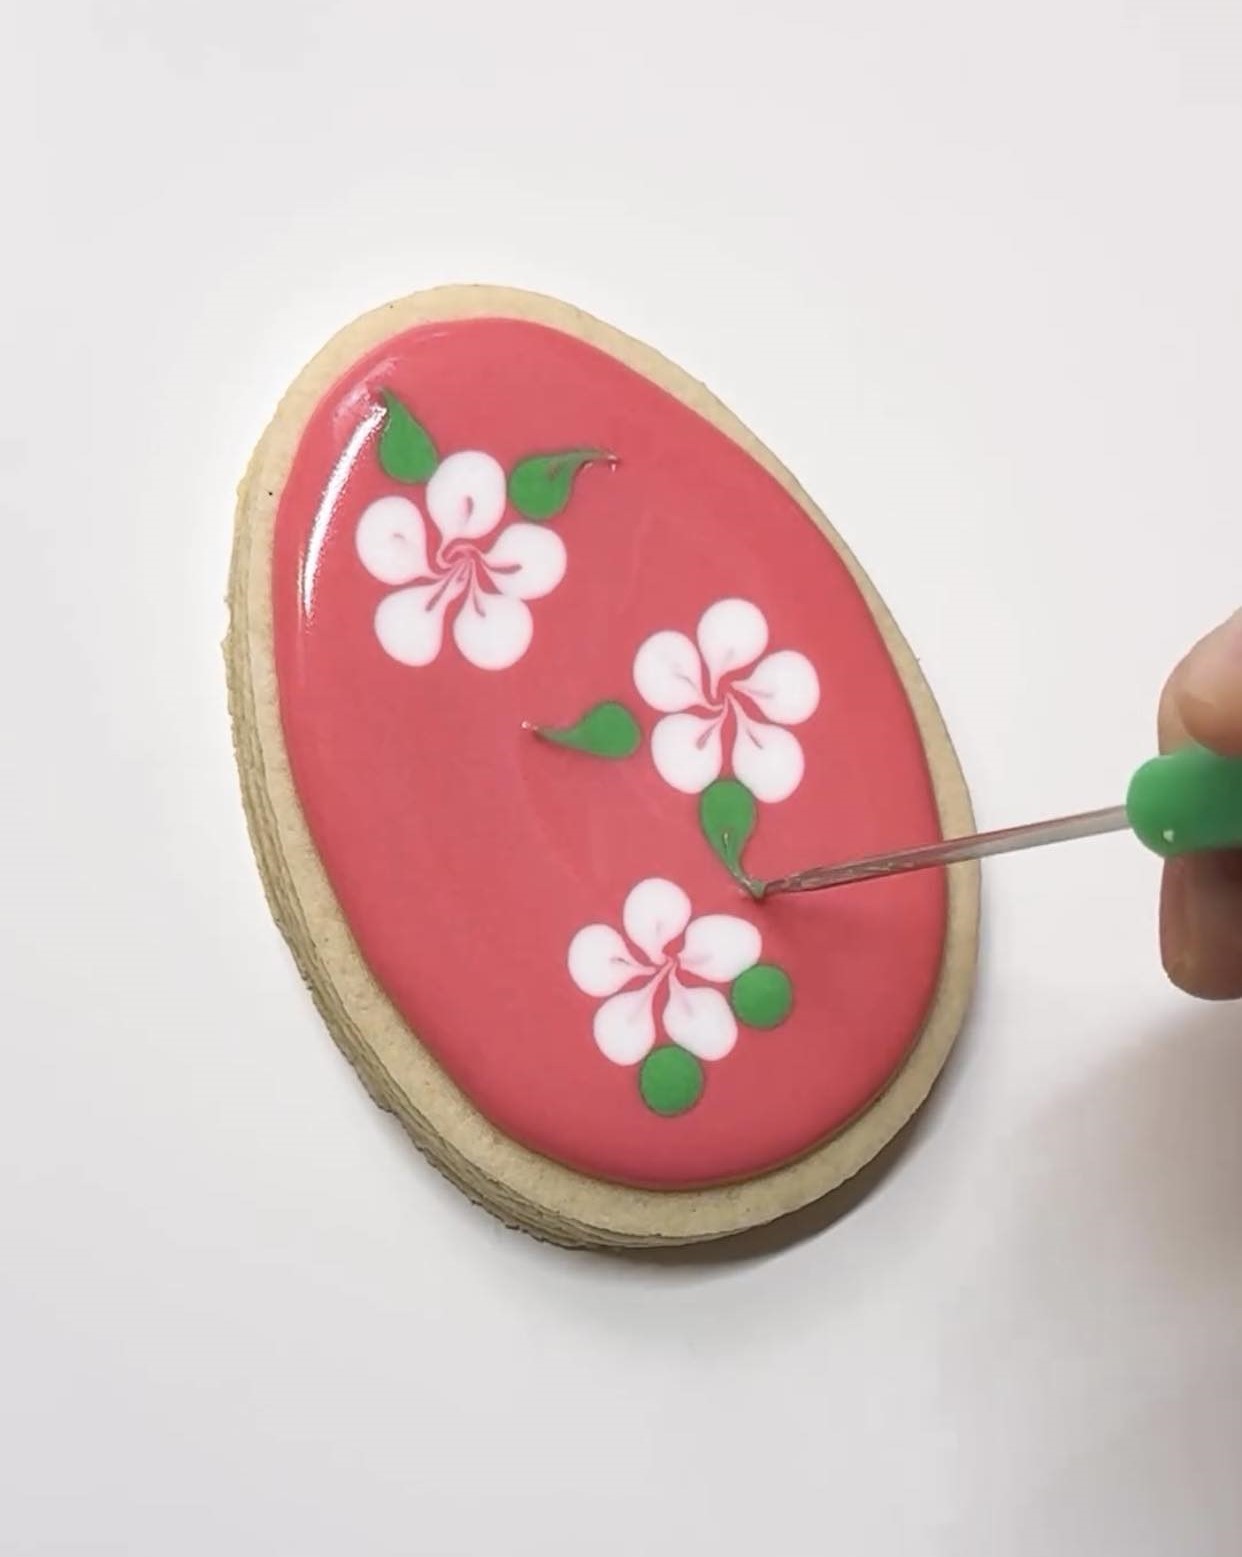
5. Pull the scribe through each green dot towards outside to create the desired shape of the leaf. Work as fast as possible. Again, wipe your scribe using a paper towel. |
|
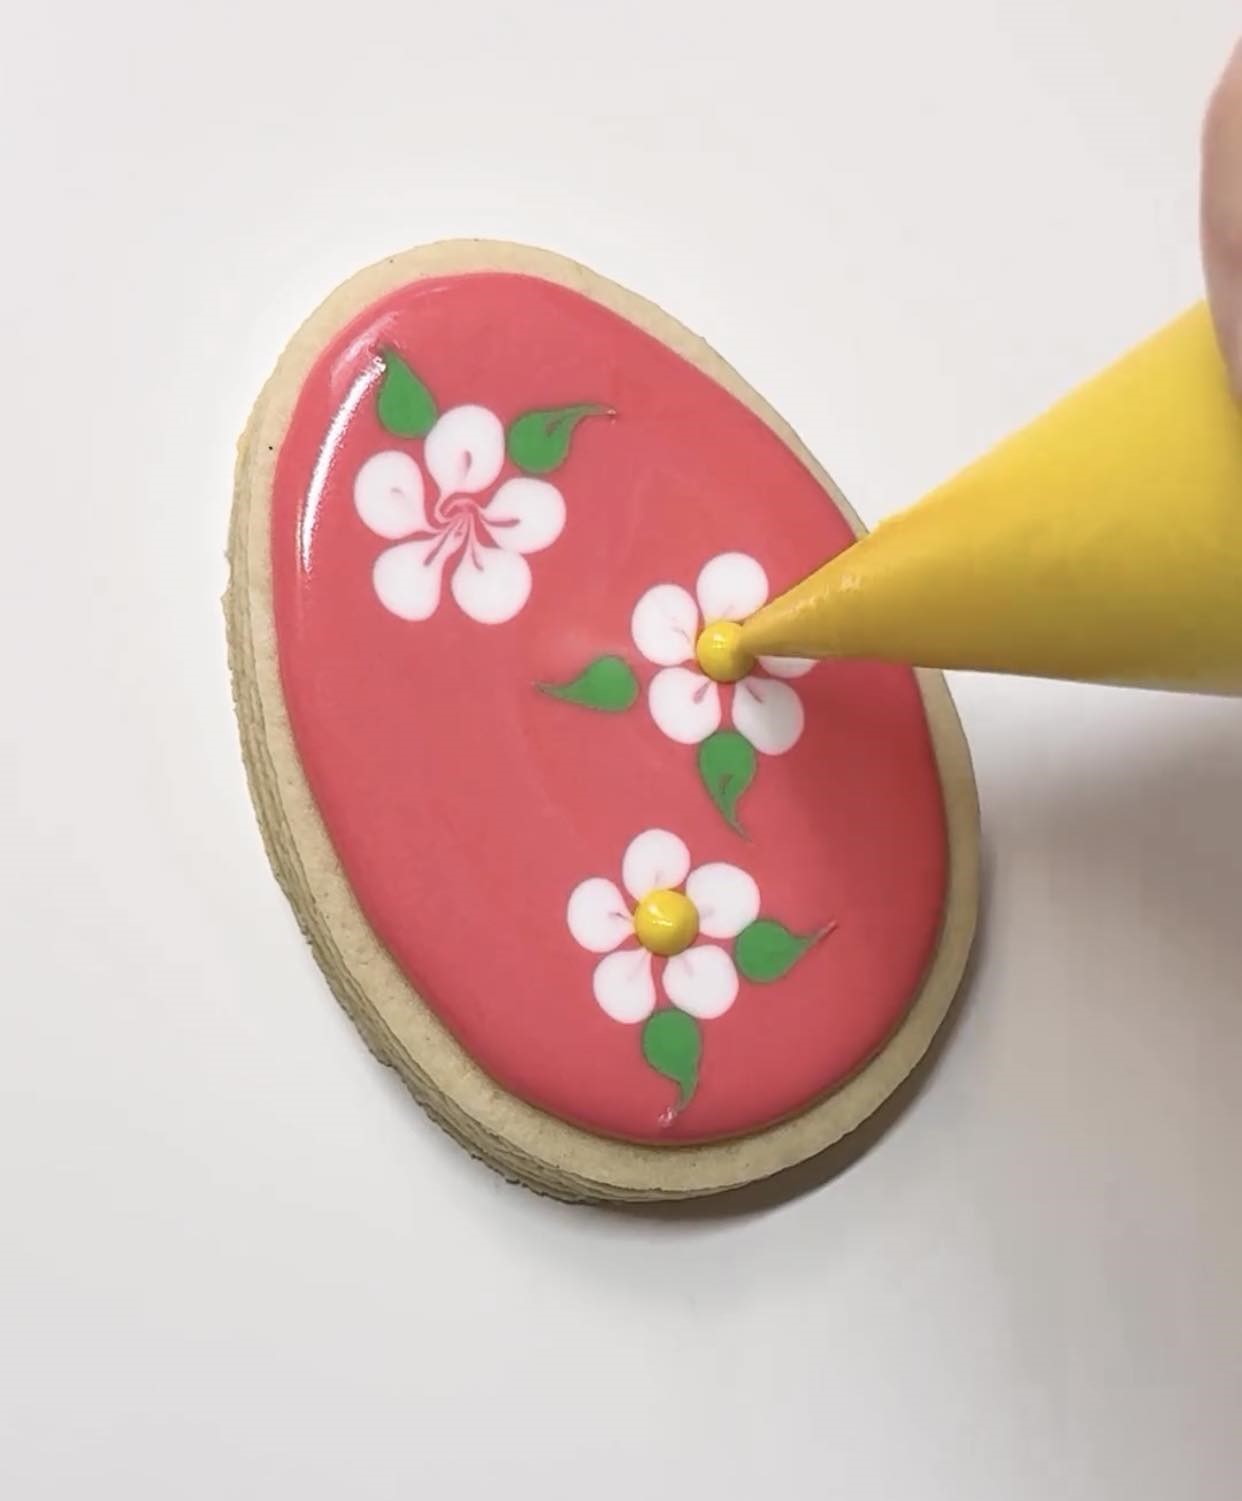
6. Pipe the centers of each flower using the same, flooding consistency icing. |
|
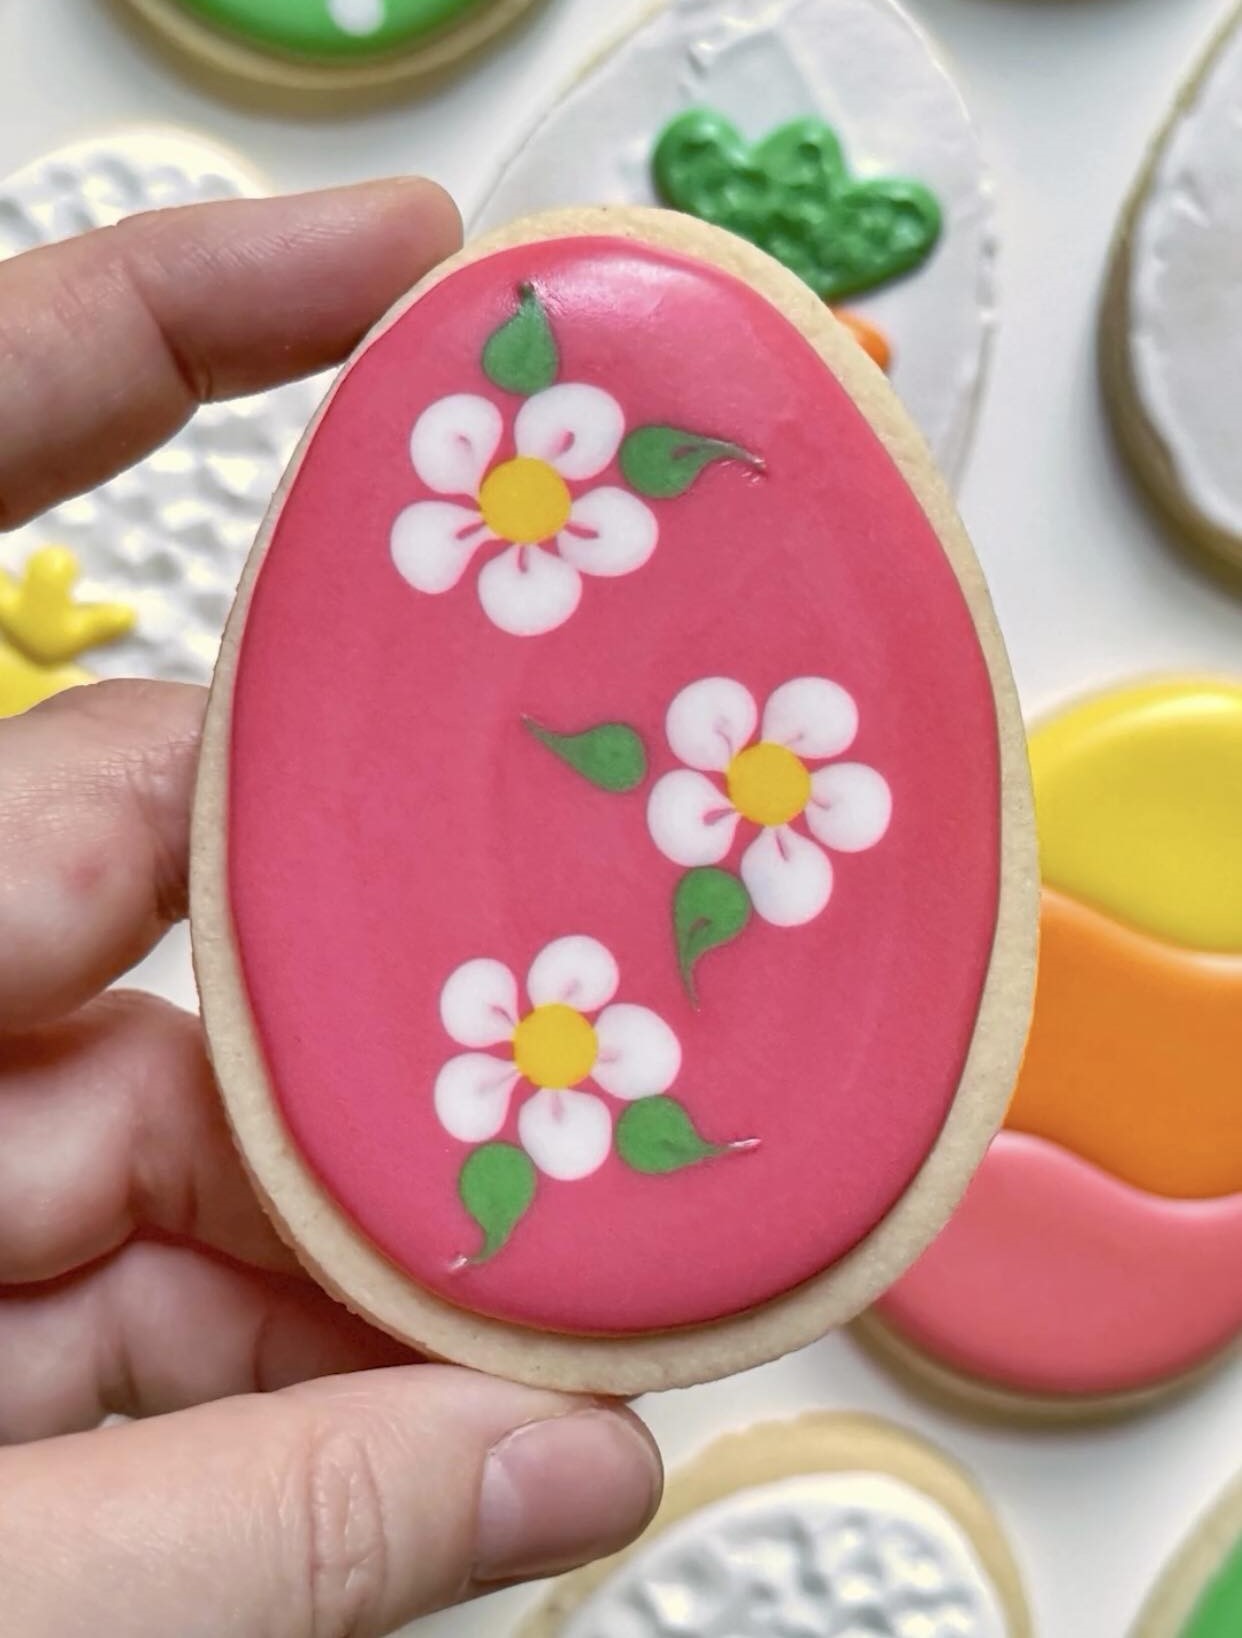
7. Carefully place your cookie to the dehydrator (avoid shaking or rapid movements). Once the cookie is dry, you can leave it as it is or finish it with a border of your choice. |
The video presenting the entire procedure is available on The Graceful Baker's Instagram profile.